How to Repot a Plant easily
Repotting a houseplant may seem like a daunting task, but it is actually quite simple and can greatly benefit the health and growth of your indoor plant.
By repotting your plant, you can ensure its continued growth and health, as well as prevent issues such as root-bound roots and nutrient depletion.
This post contains affiliate links. As an affiliate partner of various brands, we earn a little commission on qualifying purchases, at no extra cost to you. When you purchase through our links, you help our business to keep going. So thank you for your support! You may read our full disclaimer for more information.
In this article, we will discuss the reasons for repotting a plant, factors to consider before repotting, and provide a step-by-step guide on how to repot your houseplant.
Repotting your houseplant may seem intimidating at first, but with the right tools and knowledge, it can be a simple and rewarding task.
Let’s dive in!
Why you may need to repot a plant
There are several reasons why you may need to repot a plant, such as if it has outgrown its current container, if the soil is depleted of nutrients, or if the roots are becoming root-bound.
Before repotting your plant, there are a few factors to consider.
First, choose the right size pot for your plant.
The new pot should be slightly larger than the current one to allow room for growth, but not too big as this can lead to over-watering and root rot.
Make sure the new pot has drainage holes to prevent water from pooling at the bottom.
Next, consider the type of soil your plant needs.
Different plants require different types of soil, so make sure to choose a well-draining potting mix that is appropriate for your plant species.
Now, let’s get into the 7 easy steps for repotting your houseplant:
Step 1: Prep current plant by watering
Water your plant a day or two before repotting to make the roots easier to work with.
Step 2: Remove plant from old pot
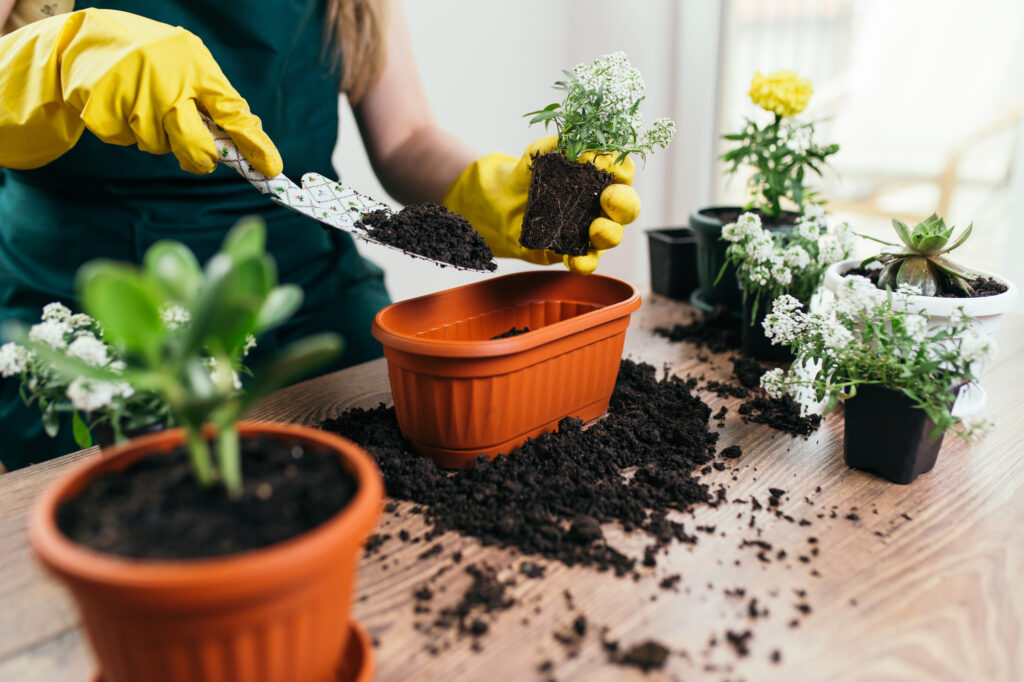
Using gloves, gently remove the plant from its current pot by turning it upside down (if possible), or turn it to the sides and tap the bottom.
If the plant is stuck, gently loosen the roots with your fingers.
Step 3: Trim roots
Inspect the roots and trim any that are dead or rotting with clean scissors.
Step 4: Layer new pot with potting mix
Add a layer of fresh potting mix to the bottom of the new pot to ensure that there’s a good base for your plant.
Step 5: Fill new pot with soil
Place the plant in the new pot and fill in the sides with more potting mix, making sure to pack it down gently to eliminate air pockets.
Step 6: Water the plant
After repotting, give your plant a thorough watering to help settle the soil and hydrate the roots.
Be careful not to overwater, as this can lead to root rot.
Ensure that your new pot has proper drainage and allow the excess water to drain out of the bottom of the pot.
Step 7: Place the plant in a suitable location
Place your repotted plant in a spot that receives the appropriate amount of light for its specific species.
Avoid placing it in direct sunlight immediately after repotting, as this can stress the plant.
Continue to care for it as usual.
After repotting a plant, there are a few more important steps to take to ensure the plant adjusts well to its new environment:
Monitor the plant:
Keep an eye on your plant in the days and weeks following repotting.
Watch for signs of stress such as wilting leaves or drooping stems.
If you notice any issues, adjust the plant’s care as needed.
Resume regular care routine:
Once your plant has settled into its new pot, resume its regular care routine, including watering, fertilizing, and pruning as needed.
Be sure to follow the specific care instructions for your plant species.
By following these steps and providing your repotted plant with the care it needs, you can help ensure a smooth transition and continued growth and health for your indoor greenery.
Wrapping up How to Repot a Plant
Repotting your houseplant is a simple yet crucial step in maintaining the health and vitality of your indoor greenery.
By choosing the right pot size, soil, and following the steps outlined in this article, you can help your plant thrive and continue to grow to its full potential.
Remember to regularly check on your plants and repot them as needed to ensure they have the space and nutrients they need to flourish.
Happy repotting!


